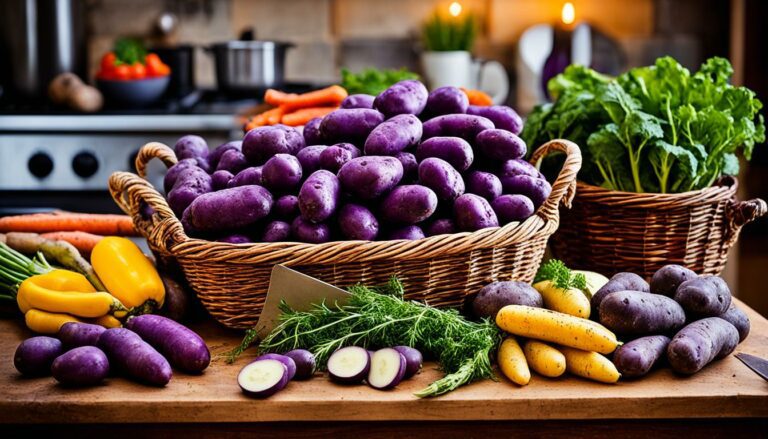
Kittie Anderson, a chef for over 30 years, won big at the 2019 Minnesota State Fair. Her Sweet Cucumber Relish took first place. She owns a family farm near Green Isle with a large garden. It’s perfect for growing all kinds of veggies for canning and pickling. Fall brings cooler days and lots of harvest. This is the best time to learn how to store your garden goodies. Whether you’re a gardener or just love to cook, these tips are for you.
Anderson loves making her own jams and pickles. She teams up with Jasmine Brett Stringer from Edina, who’s into pickling too. Together, they share great advice on canning and pickling. These tips help you use your garden better. Plus, they’re good for the planet and your wallet.
So, as autumn colours paint the land and daylight fades, let’s start a new project. We’re going to learn how to make the most of our gardens. It’s all about preserving our food at home.
There are many good reasons to preserve food at home. It’s not just about being handy. Families can save money, especially when fuel prices are up.
One big plus of preserving food at home is not needing a fridge. Canning lets families keep food without power. This way, they can have a stock of food that’s not affected by freezer breaks or electricity cuts. Canned food is stable on shelves. Keeping them in a clean, cool, dark, dry place helps avoid spoiling.
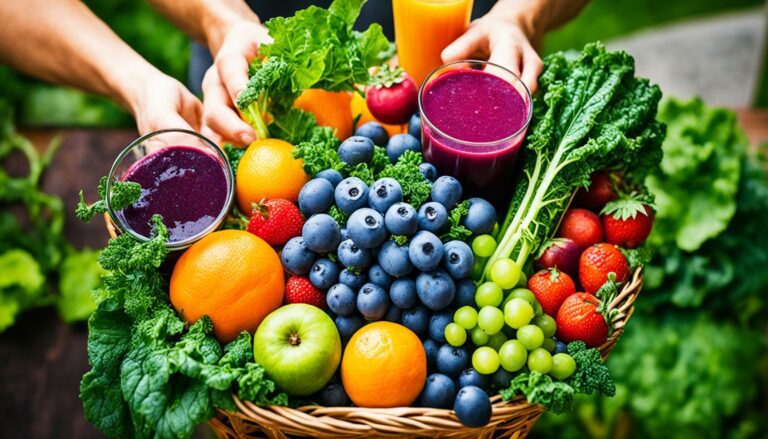
Preserving food at home helps you get closer to local produce. By canning, people seize the goodness of seasonal fruits and veggies all through the year. This makes the diet much better and lowers the carbon footprint from food delivery. It’s a way to live responsibly, saving the true taste of local food. Plus, it cuts reliance on store foods full of chemicals and wrappers.
Home food preservation can also save you a lot of money. With methods like canning, you use your own or local food, buying when it’s cheapest. This beats the price of store-bought. In time, you’ll see these savings add up. Also, your preserved treats can be great, personal gifts. This shows care and value, making preservation both smart and meaningful.
It’s crucial to follow safe canning advice to avoid food poisoning, like botulism in low-acid foods. Use a pressure canner for these items to make sure they are safe to eat.
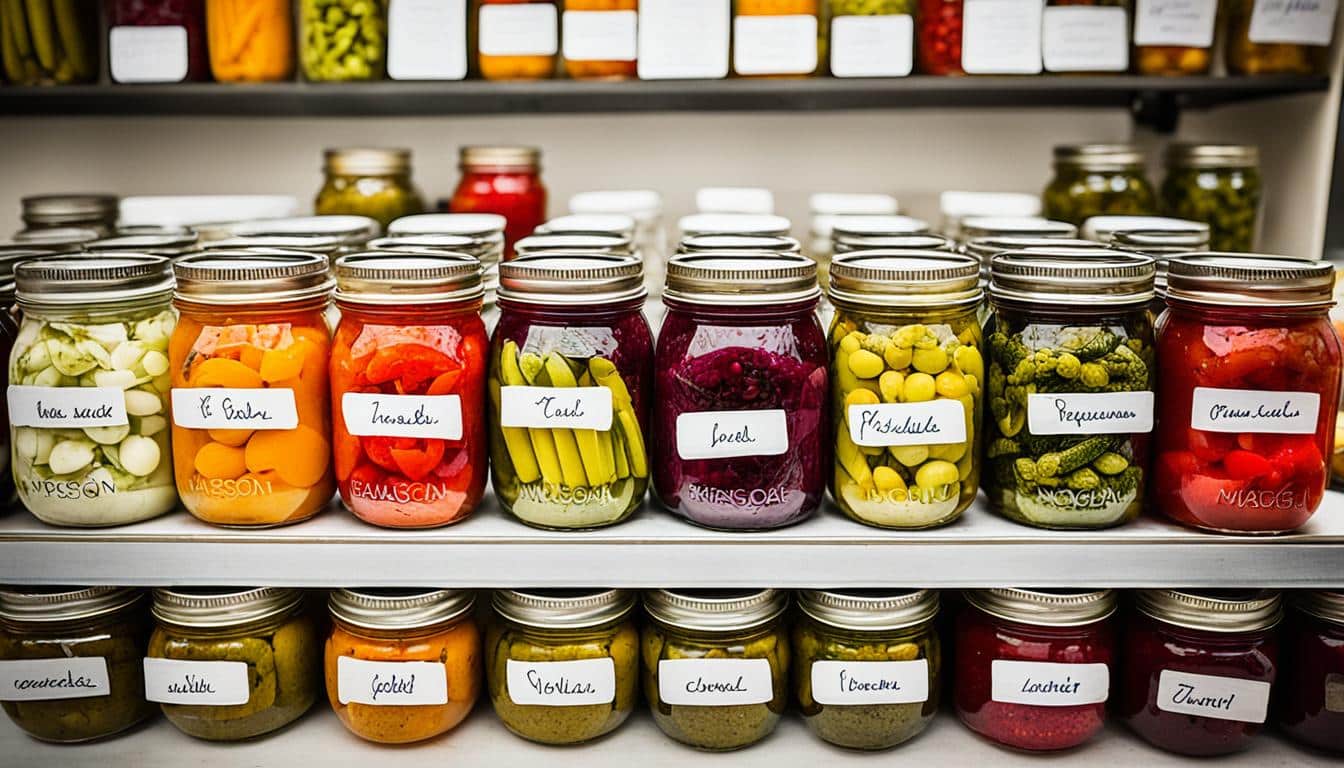
Canning is an ancient way to keep nature’s gifts fresh. It lets us have tasty foods all year, no matter the season. You can use two key methods: water bath canning and pressure canning. Each method is best for different kinds of food.
Water bath canning is great for fruits, tomatoes (with extra acid), jams, and pickles. You seal the jars by boiling them in water. This is perfect for foods that are high in acid.
On the other hand, pressure canning is needed for meats, beans, and some veggies. It uses steam under pressure to get very hot. This kills dangerous bacteria. Pressure canners today are very safe. So, both methods are key for keeping a wide variety of foods safe to eat.
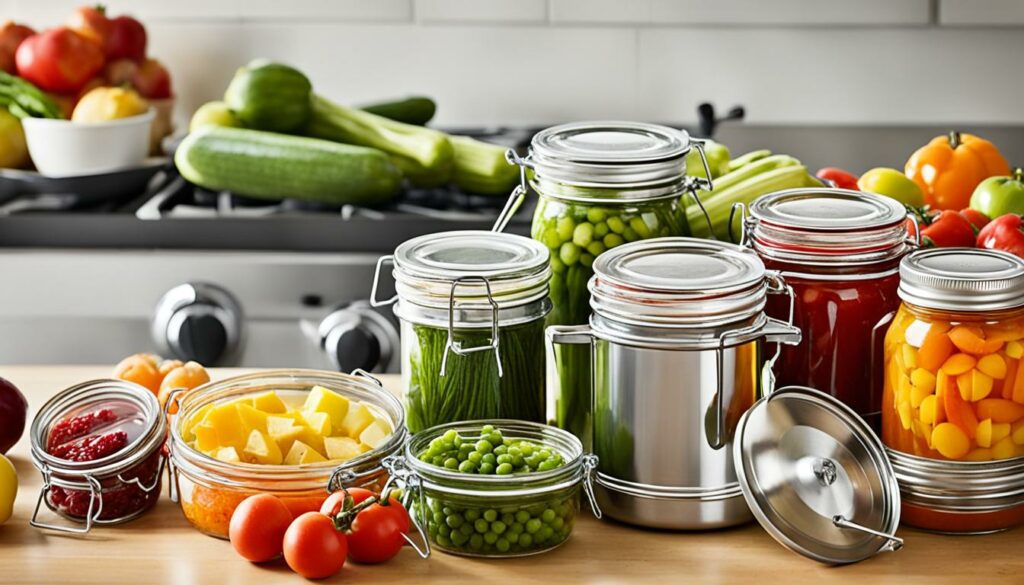
To can at home, you need the right gear. This includes jars, funnels, lid wands, and big pots. Stainless steel is the best for these tools because you can easily clean them.
The first step is to sterilise your jars. Then, fill them with your prepared food. After that, process the jars in boiling water or a pressure canner. They should cool and seal properly. Once everything’s done, be sure to label and store your jars correctly. This way, your preserved foods will stay safe and tasty.
| Equipment | Purpose |
|---|---|
| Mason-style Jars | Used to store and seal food |
| Wide-mouth Funnels | Aids in filling jars without spillage |
| Pressure Canners | Essential for low-acid foods |
| Lid Wands | Helps in positioning lids securely |
| Jar Lifters | Facilitates safe handling of hot jars |
Knowing how to can and having the right tools helps you keep food fresh. You can enjoy your favourite dishes anytime, thanks to these methods.
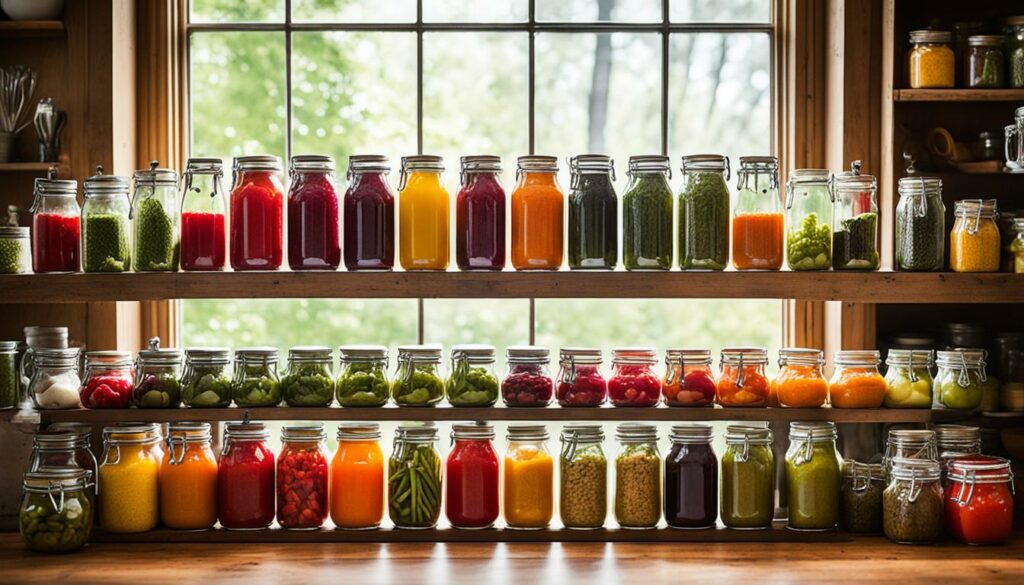
Pickling is a fun way to preserve food, spanning more than just cucumbers. You can pickle a wide variety of vegetables like beans, carrots, and beets. It’s key to know and get good at crucial pickling techniques.
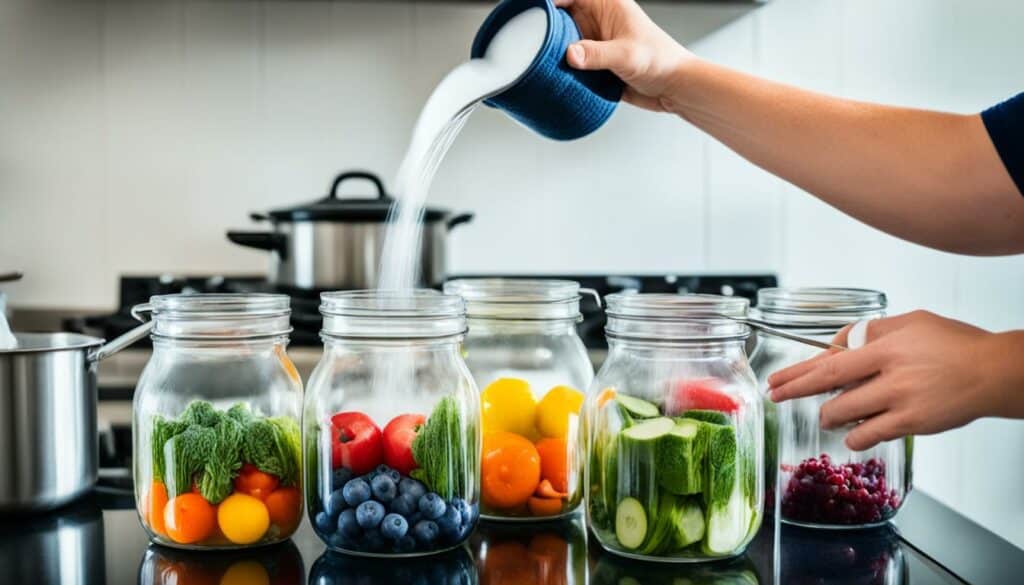
The brine’s mix is very important. A good brine uses vinegar, water, and pickling salt properly. It’s vital to have the correct amount of salt to stop harmful bacteria. Learning to measure these ingredients accurately is a must for tasty and safe pickles.
Keeping your jars clean is also essential. Boiling them is a simple way to ensure they are free from germs. This step is critical to the best canning practices out there. It helps keep your preserves fresh for longer.
The right vinegar and salt mix is vital. Vinegar makes the pickles safe to eat, and salt stops bad bacteria. A good mix improves the flavour and safety of your pickles. Adding herbs and spices can make your pickles even more delicious. Remember, 1 tablespoon of fresh herbs equals ½ teaspoon of dried.
Here’s a handy table for converting common pickling ingredients:
| Ingredients | Quantity | Equivalent |
|---|---|---|
| Pickling Salt | 1 pound | 1 ⅓ cups |
| Granulated Sugar | 1 pound | 2 cups |
| Brown Sugar | 1 pound | 2 ¼ to 2 ¾ cups (firmly packed) |
| Fresh Herbs | 1 tablespoon | ½ teaspoon dried |
Using the homemade preserves tips can make your pickling better. Stick to these rules and pickling techniques for great-tasting pickles. Your family and friends will surely be impressed.
Starting water bath canning is a perfect step for anyone new to *home preservation*. It’s great for foods with high acidity. This process makes a seal that keeps food from going bad. I’ve used it and found it easy and dependable.
Water bath canning works best for foods high in acid. These foods are naturally protected from harmful microorganisms. In America, it’s the main method for canning food at home. You can use it on foods with pH levels under 4.6. This includes fruits, jams, pickles, and more.
Add lemon juice or vinegar to make some foods safe for water bath canning. But, for foods low in acid like meats, different methods are needed. This is to prevent botulism, a serious illness.
Before you start canning, make sure you have everything you need. Follow these steps to do it right.
By following these steps, your canning will be safe and successful. Always use recipes from trusted sources to ensure quality.
| Item | Details |
|---|---|
| Traditional 21-quart enamelware canner | Typically holds 7 jars, costs around $30 |
| Stainless steel canner | Slightly more expensive, durable |
| Canner from garage sale | Bought for $1, used for over 12 years |
Having the right canning tools makes a big difference in your preserving. Whether traditional or modern, quality equipment is key to success. With the right tools, you can store your harvest safely.
For those keen on perfecting the art of preserving at home, knowing how to pressure can is key. Unlike the simpler water bath canning, pressure canning is for low-acid foods. These foods need high heat, about 240-250 degrees Fahrenheit, to be safe. The high heat kills botulinum spores, thus preventing botulism.
It’s important to know when pressure canning is needed. Foods like meats, legumes, and some veggies need this process as they are low in acid. Low-acid foods can breed botulinum bacteria. By learning advanced pressure canning, you make sure these foods are safely preserved.
Starting pressure canning might feel tough, but following a clear guide helps a lot. Here’s how:
If you embrace these tips, you’re on the path to making secure, tasty preserves. This skill connects you to a tradition aiding in getting the most out of your garden.
Jasmine Brett Stringer is a canning and pickling pro. She knows exactly how to keep your home-prepared foods fresh. With years of experience, she’s mastered canning favorites like green beans and asparagus. Her top tips will help you get more efficient and enjoy the process.
Stringer says planning is key. Break your canning tasks into simple steps. Start preparing well in advance to avoid any rush. This method leads to a smoother and less stressful canning event.
Stringer advises using craft paper to line your work area. It’s a quick and easy way to deal with messes. A tidier workspace makes cleaning up after canning much simpler.
Running out of space is common during canning. Stringer suggests adding more tables. This simple change boosts your organization and workflow. It makes preserving food at home both efficient and fun.
Kittie Anderson has shared her expert pickling advice. She was a pro chef for many years. Her tips aim to help newbies start and improve others’ pickling skills.
Starting with simple jams is a top tip from Anderson. It lets beginners learn without too much stress. This way, they’re not overwhelmed with the pickling secrets.
Anderson highlights the need for deep research. This could be through books like the Ball Blue Book of Canning, or online resources. Knowing different pickling methods is key for better results and enjoying the process more.
Anderson suggests keeping the tools simple. She says having fewer gadgets lets you focus more. This focus can improve both your technique and the final taste of your pickled goods.
Kittie Anderson’s advice is both practical and full of knowledge. It’s a great start for new picklers and can also help those with experience get better. Following her advice could lead to some very tasty results.
When starting home preservation, quality canning tools are a must. They make the process easier and ensure safe preservation. They help in doing a good job.
For foods with little acid, a top-notch pressure canner is key. Presto’s 23-Quart Pressure Canner is a leader. It can hold 20 pint jars or seven quart jars. For high-acid foods, Granite Ware’s water-bath canner is a great choice. It can hold 21.5 quarts of liquid.
The Roots & Branches multi-use canner is also worth looking at. It can hold 20 quarts, which gives you a lot of room. And, using quality jars matters a lot. Newell Brands brings you top-notch Ball jars, kits, and supplies. They are known for their strong, tight seals.
To make good pickles, you need to get your brine right. Morton Canning and Pickling Salt sells in handy 4-pound bags. It ensures you get the same great taste each time. For measuring, Taylor’s digital scale can weigh up to 11 pounds. It makes getting things right easy.
Don’t overlook the utensils like ladles and funnels. They help with safety and make the whole process smoother. Following the right steps with these tools leads to a more pleasant canning day.
For those really into preserving, a mix of water-bath and pressure canners is smart. This combination covers all needs well. It also makes your work more efficient and safe.
Botulism is rare but very dangerous, especially in home canning. Knowing how to stop it is crucial to keep your preserved foods safe. By following safety advice and precise steps, you can avoid this serious health risk.
Botulism thrives in low-acid, no-air conditions. This makes home-canned vegetables a common source of outbreaks. Even a tiny amount of the toxin can be deadly for many.
Foods like vegetables, figs, meats, poultry, fish, and certain tomatoes are at risk. These should always be pressure-canned. Pressure canning raises water’s boiling point enough to kill botulism spores.
Following reliable advice and safe canning methods is key to avoiding botulism. Here are some important tips:
By sticking to these points and taking care, you can greatly lower the botulism risk. This will keep your preserved foods safe for your family to enjoy.
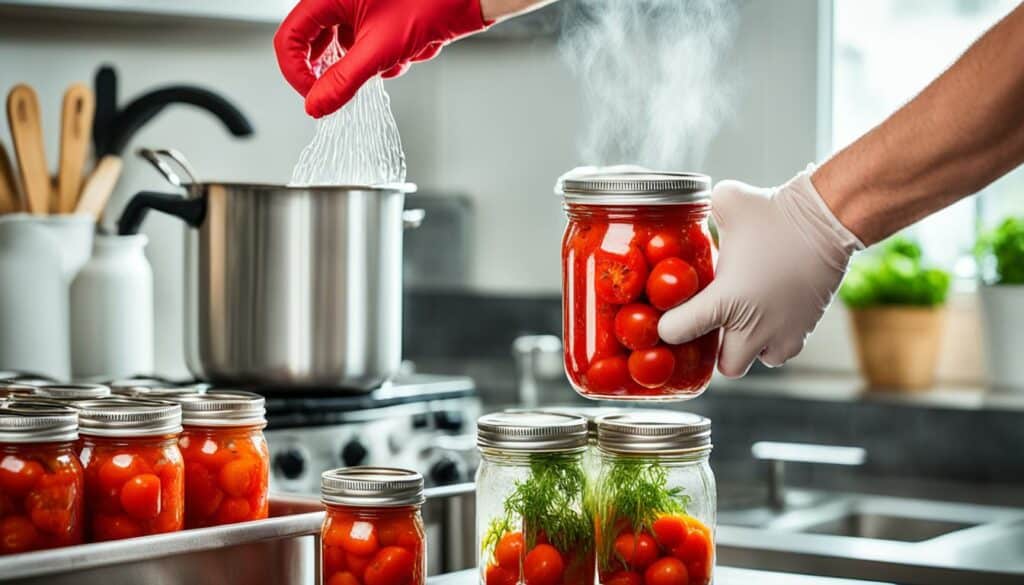
Sterilising jars and lids is vital for safe canning. It keeps your preserves free from harmful germs. One recommended way by the USDA is the boiling method. This technique is great for recipes that boil for less than 10 minutes.
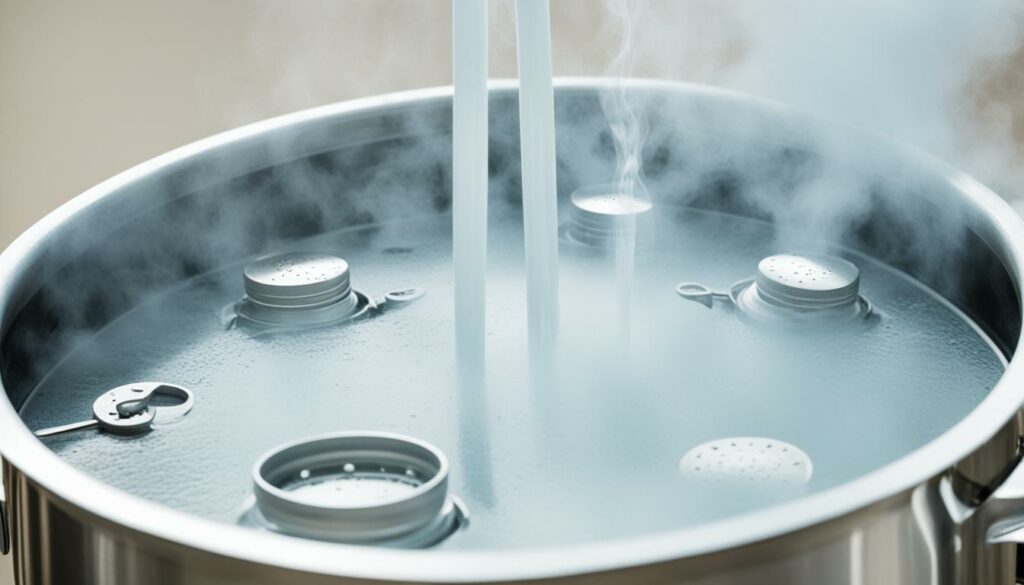
To use the water-canning method, put your jars in boiling water. Make sure the jars are covered by at least an inch of water. How long you boil the jars depends on your altitude. At sea level, boil for 10 minutes. This time goes up to 16 minutes at 6,000 to 7,000 feet. After boiling, let the jars dry on a clean surface.
Don’t boil the metal lids. Boiling can harm the rubber seals. Instead, put them in hot water and simmer for 10 minutes. Follow the maker’s instructions to keep them effective.
There are other ways to sterilise jars beyond boiling:
Always use sterilised glass jars, metal lids, or kilner-type jars for canning. Plastic lids don’t get sterile enough and may not seal well. Fill jars up to a centimetre from the top and store in a cool, dark spot for six months. Check your preserved food often. If it looks bad, throw it out to stay safe.
| Method | Duration | Handling |
|---|---|---|
| Boiling | 10-16 minutes based on altitude | Submerge jars upright with 1 inch water above |
| Oven | 140℃ (275℉, Gas 1) | Use for glass jars pre-sealing |
| Microwave | 45 seconds at full power | Best for small batches, with water inside jars |
| Saucepan | 10 minutes | Boil jars and metal lids separately |
Always rely on a good canning guide. Follow safe sterilisation methods to keep your canned food safe and solid at home.
Making the perfect pickling brine is both an art and a science. It needs the right ingredients and a perfect balance of flavors. This way, your pickles will be tasty and preserved well.
Start with top-notch ingredients for your pickling brine. You’ll need first-rate vinegar, enough water, and the important pickling salt. Don’t forget to use fresh herbs like dill, and add spices such as celery seed and peppercorns. They make the brine more interesting. Remember to pick the right cucumbers for pickling and cut off the blossom end to keep them crunchy.
To keep your cucumbers firm, soak them in ice water and salt for 12 hours. Also, use grape leaves or black tea when canning. This extra step helps keep your pickles crunchy.
Getting the brine’s balance right is key for good taste and preservation. Salt pulls moisture from the cucumbers, making them crisp. You need 5% vinegar acidity to fight off botulism. Always use the same amount of water as vinegar for safety. Adding sugar can make the brine taste better, but it’s up to your preference.
Here’s the perfect recipe for pickling:
| Ingredient | Quantity | Role |
|---|---|---|
| Vinegar | Equal to water | Provides necessary acidity |
| Water | Equal to vinegar | Dilutes and balances the brine |
| Pickling Salt | 1-2 tbsp per quart | Draws out moisture |
| Sugar (optional) | To taste | Modulates sweetness |
| Dill Heads/Seeds | A few sprigs | Adds aroma and flavour |
| Pickling Spices | 1-2 tbsp | Enhances overall taste |
Stick with these tips to make your pickles safe and tasty. You’ll be able to enjoy them any time of the year.
Home canning lets you make recipes that show your unique taste and style. You can mix old favourites with new ideas. Pickled foods are very liked, with 13 out of 62 old recipes being about pickling. This lets us enjoy our homegrown foods all year long.
Making your jam or pickles stand out is by adding a special twist. This can be using family recipes or trying new things with fruits. Like using apples in four great recipes or adding spices, like peppers, for a kick in five recipes. It all brings a personal touch to your pantry.
Changing recipes aims to make them tastier but still safe to eat. Mixing rhubarb, a favourite in three recipes, with other fruits or spices can create something new. Trying new things can bring joy, like one person who made salsa for a wedding, gifting 300 jars. The act of giving homemade canned goods is a special Christmas tradition, showing how heartfelt these gifts can be. Start with known safe recipes, and then be as creative as you like.
Preserving food at home has several benefits. It lets you store food without needing electricity. This can save money, especially when fuel prices change. You can also eat more local food.
It also helps reduce the carbon footprint from transporting food. This supports a sustainable lifestyle. Plus, preserving food makes for great gifts, showing you’ve put thought into them.
Water bath canning suits high-acid foods like fruits and tomatoes. It uses boiling water to create a seal. Pressure canning is for low-acid foods like meats and vegetables.
This method uses pressurised steam to get to high temperatures. This ensures botulism is prevented.
For canning, you’ll need some key items like non-reactive pots, canning jars, and essential tools such as ladles and funnels. Don’t forget jar lifters. If you plan to do both water bath and pressure canning, also get a suitable pot and canner.
For pickling, have sterile jars ready. You’ll also need vinegar, salt, and various spices.
First, prepare your produce and sterilise the jars and equipment. Then, fill and seal your jars. Next, put the jars in boiling water for the set time.
Finally, cool them properly. This step ensures a vacuum seal is formed, keeping your food preserved well.
Pressure canning is ideal for low-acid foods. Use it for vegetables, meats, and certain legumes. It destroys botulinum spores, making your food safe to store.
Jasmine Brett Stringer suggests planning ahead to streamline your canning process. Set up early and use craft paper on your work surfaces. This makes clean-up easier.
She also advises creating more space by adding tables. This helps make your canning workflow smooth and efficient.
Kittie Anderson recommends starting with easy preserves like jam. This is a good way to begin canning. She also stresses doing your research on canning methods and tools.
To keep things simple, use as few tools as possible. And look to trusted sources like the Ball Blue Book of Canning for advice.
To sterilise jars and lids, use a boiling method. This means submerging them in hot water and letting them simmer. You can also use ovens or dishwashers if they can get hot enough.
Always follow a reliable guide closely. Detail is key to making sure your jars are properly sterilised.
Preventing botulism is crucial. Make sure your equipment is very clean. For low-acid foods, use pressure canning. Always stick to trusted canning recipes and methods.
Stay alert to keep your preserved foods safe to eat.
A good pickling brine needs vinegar, water, salt, sugar, and spices. The recipe can change depending on what you’re pickling. It’s key to ensure the brine is strong enough to preserve the food safely.
To make your own canning recipes, start by adding different spices and herbs. It’s wise to begin with tried and tested recipes to learn. Then, you can adjust them to your liking.
Make sure any changes you make still follow the safety rules. This keeps your canned food safe to enjoy.