Did you know most plants like neutral soil? But, some plants like blueberries, rhododendrons, and azaleas need more acidic soil to thrive. Testing your soil helps you understand what your garden needs. This boosts plant growth and wellbeing.
There are many ways to test your soil, from home kits to professional lab analyses. Home kits are easy to use but not as exact as lab tests. Labs give detailed results, showing the levels of nutrients like pH, calcium, and potassium. These details are key in helping your plants grow well.
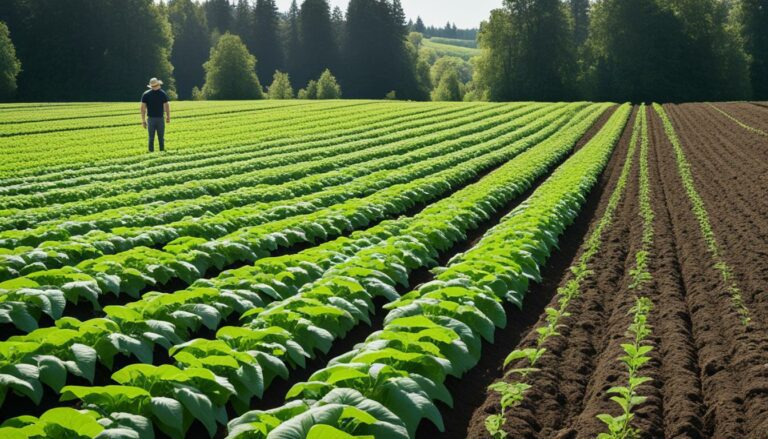
It’s crucial to take soil samples the right way for correct results. Dig 6 to 8 inches deep, as deep as the plant roots go. Mix samples from different parts of your garden to get an overall picture of your soil. For more detail, take separate samples from different areas. Make a map to match the results with each part of your garden.
Testing your soil makes sure your plants get what they need. It helps fix any nutrient problems in your soil. This leads to a healthier, more productive garden.
Testing the soil is key to making sure your garden has everything plants need to grow well. It lets me know what nutrients are present or missing. This helps in choosing the right fertilisers and improving the soil for a healthy garden.
Good garden care starts with knowing about your soil. It’s important to test things like pH and nutrients including magnesium and calcium. Testing every few years, and more often in certain soils, helps keep things balanced.
Using chemical analysis on the soil tells us what plants will like. It helps avoid adding too much or too little of certain nutrients. This way, plants can get what they need to grow strong.
Taking a soil sample is where it all starts for healthy plants. Spring is a common time to do this, but autumn is better. Testing soil from different parts of the garden helps get a true picture of its health.
A soil test kit can make this step easier. It shows exactly what the soil needs. This is great for growing plants that prefer slightly acidic soil, like many fruits and vegetables.
The real key to a thriving garden is a balanced soil, rich in essential nutrients, and devoid of contaminants.
| Soil Test Metric | Purpose | Frequency |
|---|---|---|
| pH Levels | Determine soil acidity/alkalinity | Every 2-3 years |
| Phosphorus & Potassium | Essential for root and flower development | Every 2-3 years |
| Calcium & Magnesium | Vital for cell wall structure and chlorophyll | Every 2-3 years |
| Organic Matter (OM) | Improves soil structure and water retention | Every 2-3 years |
| Cation Exchange Capacity (CEC) | Indicates soil’s capacity to hold nutrients | Every 2-3 years |
Understanding these key soil metrics is a crucial first step. With the right methods for assessing soil properties, we can start on the path to a healthy and productive garden.
Learning how to test your soil is important for a thriving garden. It gives you insight into nutrients, pH levels, and soil hardness. You can choose between professional lab tests and DIY kits. Let’s look at the benefits of each to help you decide.
If you want a thorough soil check, a lab test is the way to go. Scientists use high-tech methods to analyse your soil. They look at nutrients, pH, and how compact the soil is.
DIY test kits are more basic but great for a general idea of your soil’s health. They won’t give you all the details like the labs, but they’re good for regular checks.
SME testing is common for soilless growing media. It’s a bit more complex and needs special instruments. Regular checks of electrical conductivity and pH are advised. This keeps your data accurate.
The method you pick, lab or DIY, depends on how much detail you want. Labs give exact readings, while DIY kits are quick and easy. They both help you look after your garden well.
It’s crucial to pick the right soil test for your garden. You should think about what your plants need and how much you can spend. This helps you find the best way to keep your garden healthy.
Plants vary in their needs. This affects what soil test you should choose. For example, blueberries, rhododendrons, and azaleas love acidic soil. By testing your soil often, you can give plants the exact care they need.
If your garden has a mix of plants, test each area separately. This is key to solving specific issues. Also, mixing soil samples from various spots can show you the big picture of your garden’s soil health. Then, you can plan your fertilising better.
You can still do soil tests even if you’re on a tight budget. Many OSU Extension Master Gardener offices offer affordable soil pH tests. These tests give you a good idea of your soil’s condition.
Home soil test kits are also a good choice for those watching their budget. However, they may not be as accurate as tests done in a lab. For detailed nutrient checks, it’s best to go to a lab. They can give you information on pH, calcium, and more.
Below is a comparison of different soil test kit options and their pros and cons:
| Soil Test Method | Accuracy | Cost | Details Provided |
|---|---|---|---|
| Home Test Kits | Low | Low | Basic pH and nutrient levels |
| Extension Services | Moderate | Moderate | pH, basic nutrient levels |
| Lab-Based Testing | High | High | Detailed nutrient analysis, organic matter |
Choosing the right soil test depends on your garden’s needs and what you can spend. Considering these things will mean your plants get just what they need to grow well.
Checking the ground’s quality is vital for any garden. The pH levels in the soil affect how well plants absorb nutrients. This, in turn, impacts their growth. Whether you test soil with chemicals or a kit, knowing how to read the results is important for a healthy garden.
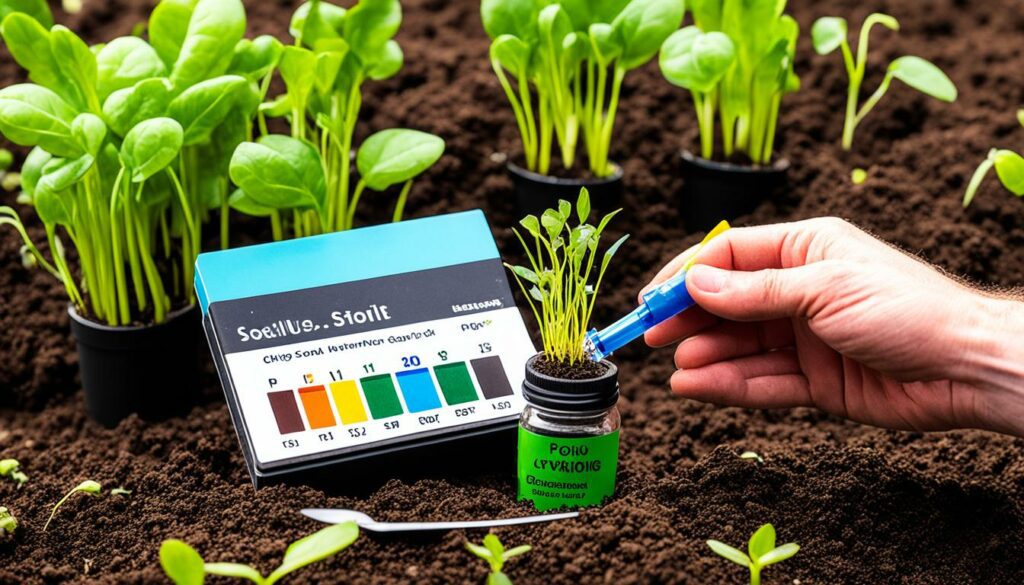
Soil pH shows how many hydrogen ions the soil has. It’s measured from 1 to 14, with 7.0 as neutral. Most plants like it around 7.0, but some need different levels. For example, blueberries do best in acidic soil (pH 4.5 to 5.5). Lavender, on the other hand, thrives in slightly alkaline soil (around pH 8.0). Good pH levels (5.5 to 7) also help nutrients move through the soil, benefiting plant growth.
You can test soil pH in several ways. A home test kit is easy and fast, but not very precise. These tests involve mixing soil with a solution or using strips. For a more detailed check, professionals can test your soil with better equipment. They’ll recommend specific changes, if needed.
You can also use pH meters for a quick check. They come in digital or analogue forms. Regular testing, every few years, is a good idea to keep your soil at the right pH. This ensures your plants get the nutrients they need to grow strong.
Spotting signs of pH issues in your garden is crucial. Weeds like dandelions, wild strawberries, or plantain might mean your soil is too acidic. On the other hand, chickweed, Queen Anne’s lace, and chicory could signal it’s too alkaline. You can adjust the soil with garden lime for acidic soils or with acidifiers for alkaline soils.
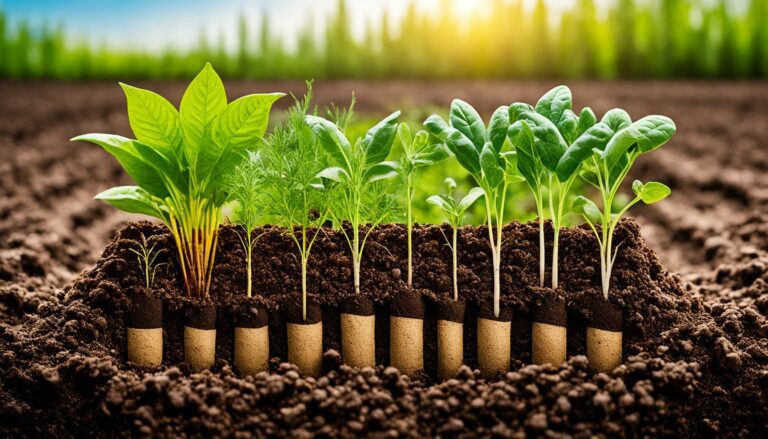
Soil fertility testing is key for successful gardening. It shows us what plants need to grow well. Tests check for major nutrients like nitrogen, phosphorus, and potassium. They also look at secondary nutrients such as calcium and sulfur.
It’s important to know what nutrients your soil has. Nitrogen comes from the air but is usually low in soil. Phosphorus is key for plants’ energy but easily washes away. Potassium activates enzymes in plants. Knowing your soil’s needs helps you feed your plants better.
When we know what our soil is lacking, we can fix it. We add the right fertilisers based on soil tests. This ensures our plants get exactly what they need. Don’t forget about iron, manganese, and boron. They are important too.
Testing soil pH and electric conductivity helps too. These measures give more clues for the best care of your plants.
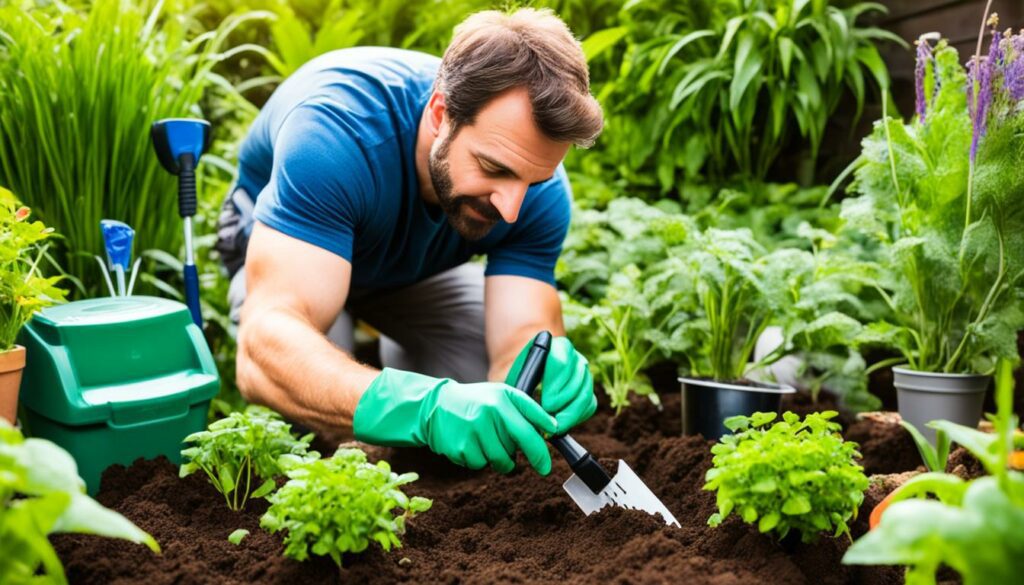
It’s key to know different ways to test physical soil. This helps ensure plants grow well and the soil stays healthy. I check for things like how the soil feels and if it’s too tightly packed. These affect how well plants can use water, food, and grow their roots.
Soil texture matters a lot in how well soil holds water and nutrients. I use the hydrometer method to look at soil parts’ sizes. This test is important as it helps understand if the soil needs more water, nutrients, or something else to grow better.
The feel test is another handy way to see what the soil’s texture is like. I just need to take a bit of soil and rub it between my fingers once it’s moist. This lets me know if it feels sandy, silty, or clay-like.
Finding out if the soil is too packed is crucial. It affects how well roots can grow and if water can get through. A penetrometer is used to check the soil’s hardness. If it’s too hard, it might need to be loosened up. This is especially important in farms where heavy machines press the soil down.
Using these tests, I learn a lot about the soil. This knowledge tells me how to make it better for plants. It’s a big part of my work to keep the soil healthy and plants strong.
Healthy, fertile soil is key to a great garden. Testing soil fertility involves looking at organic matter. This includes soil structure, nutrient availability, and the ability to hold water. Knowing how to check these soil aspects helps gardeners improve their soil.
The Loss on Ignition (LOI) method is used for measuring organic matter. It heats soil samples to burn off organic bits. This gives a good view of how much organic matter is in the soil. High organic matter means good soil structure and the ability to hold nutrients well.
Let’s look at how soil properties linked to organic matter can be checked:
Results from these tests help suggest soil improvements. Adding compost or manure increases organic matter, making the garden healthier. Regular tests let gardeners track soil health and adjust as needed.
| Testing Method | Procedure | Usability |
|---|---|---|
| Loss on Ignition (LOI) | Burning soil samples to see how much weight is lost. This measures organic matter accurately. | Common method to check organic matter precisely. |
| Kjeldahl Method | This measures the soil’s total nitrogen to indicate organic matter. | Helpful for complete soil fertility checks. |
| Wet Combustion | It burns off organic compounds with a chemical agent. | Good but more work to calculate organic matter. |
Using these soil tests keeps the soil fertile and good for plant growth. Testing for organic matter makes the soil better for plants. This leads to healthier, more productive gardens over time.
Testing your soil at home can be easy and cost-effective. With techniques like soil texture testing or looking for earthworms, you can keep your plant growing area in top shape. It adds to what professionals do and ensures a good place for plants to thrive.
This test, using a jar, water, and soil, is great for checking soil texture. Fill a clear jar with soil and water, then shake it. After 24 hours, check the layers formed by sand, silt, and clay.
Loamy soil, the best for plants, has 40% sand, 40% silt, and 20% clay. It means nutrient availability and root growth are good. This simple test can tell you a lot about your soil’s texture.
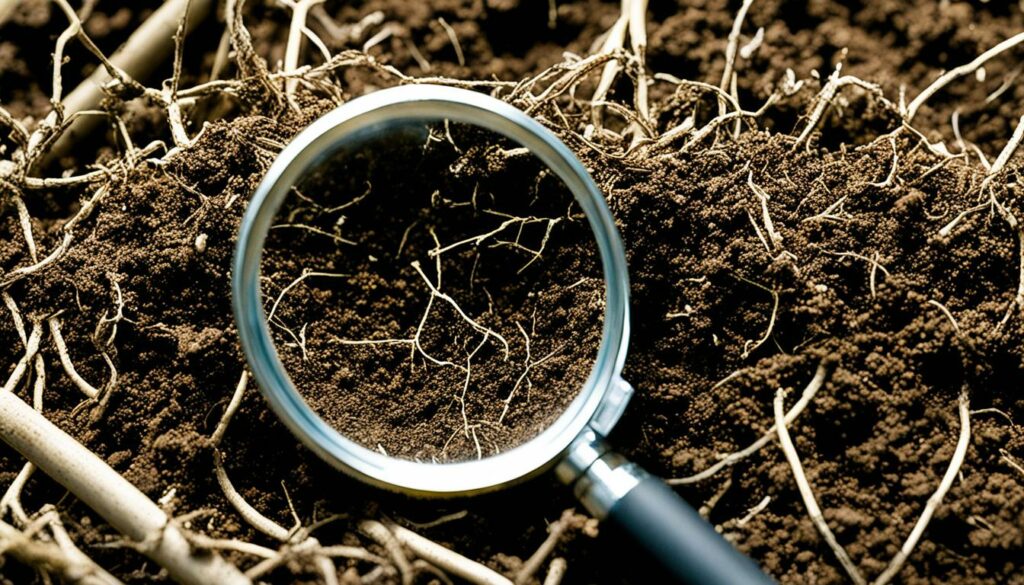
Finding earthworms in your soil is a sign it’s in good condition. To check, wait for rain or water the area, then dig deep to look for earthworms.
In healthy soil, you should find at least ten earthworms in a cubic foot. Earthworms help soil by turning organic matter into nutrients and by making it porous. If there aren’t many earthworms, adding compost or mulch might help. It’s an easy way to test your soil’s health.
Understanding soil test results is key for good soil use. It helps gardeners know what to add to make their soil healthier. This boosts plant growth.
When you read a soil test, look at the pH and nutrients. Soil pH tells you if it’s acidic, neutral, or basic. Most plants like soil with a pH of 6 to 7.5.
Nutrient levels are measured in parts per million (ppm). This data includes phosphorus, potassium, and magnesium. It’s important to adjust these nutrients for healthy plant growth.
Trace minerals like zinc and copper might also be tested. This info is useful if your plants show signs of specific deficiencies.
The soil test data guides gardeners on using the right fertilisers and lime. For instance, limestone helps adjust the soil’s pH. This can be about 6.5 pounds per acre, tailored to your garden’s needs.
Knowing what nutrients are lacking helps avoid using too much fertiliser. This protects the environment. It also supports plant health.
Soil tests also show the soil’s levels of secondary and micronutrients. These include sulfur and zinc. By fixing any shortages, you help plants grow strong and healthy.
Using a soil test kit is a smart choice. It gives you accurate soil health info. This way, you can make the best decisions for your garden.
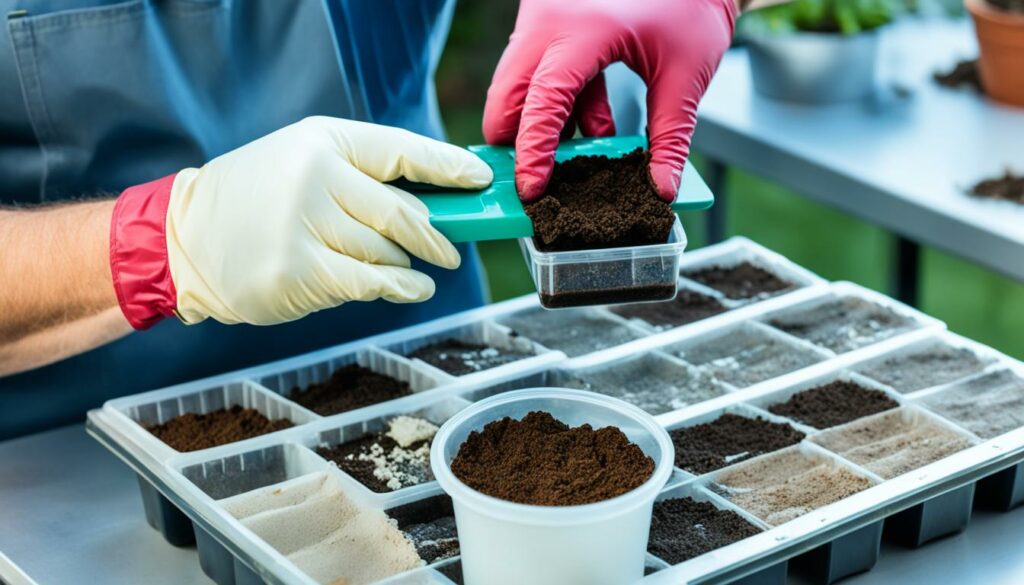
Collecting the right soil samples is key to getting accurate test results. By following the best steps, you will get samples that truly show your soil’s health.
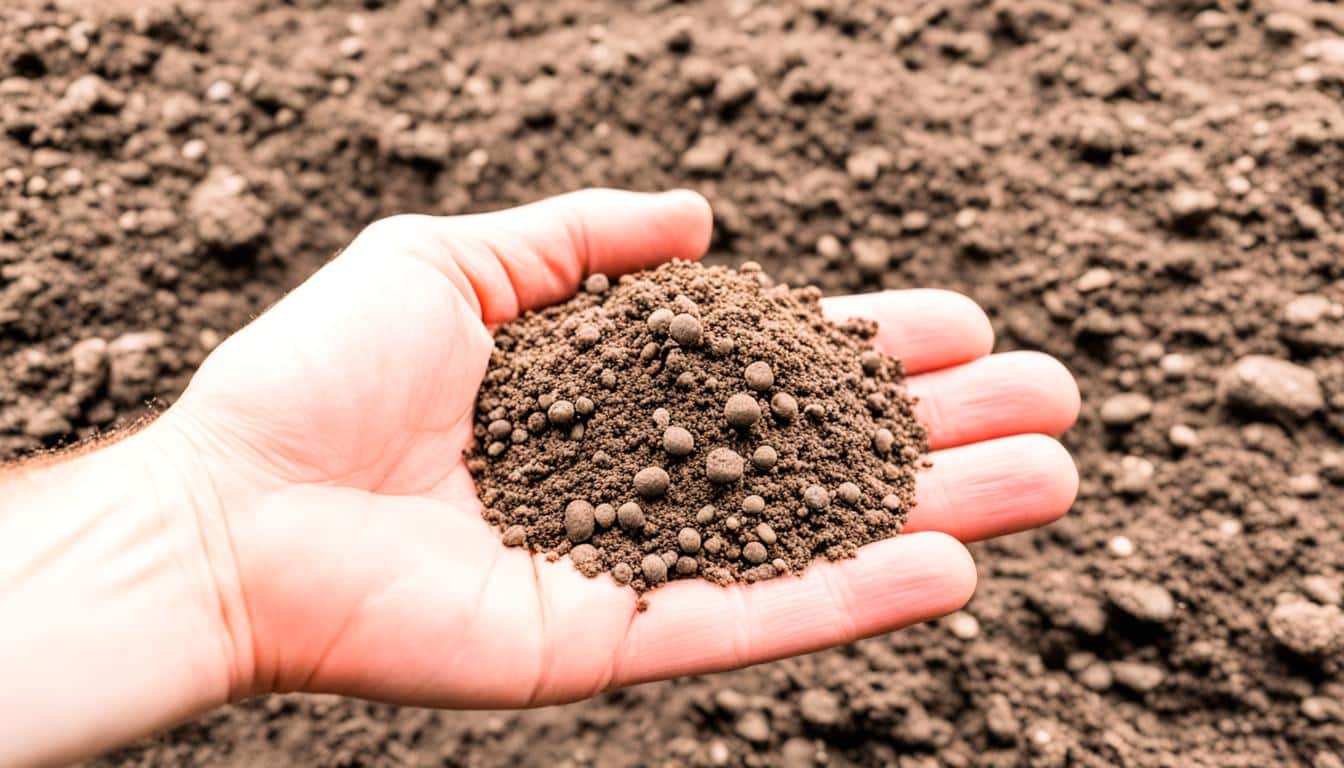
First, gather your tools like a soil test kit, a clean bucket, and a trowel. Making composite samples, a mix of samples from different spots, will give a better idea of your soil.
Here’s how to do it:
Don’t derail your efforts with these common errors. Here’s what not to do when collecting soil samples:
By sticking to these best ways and being careful about the usual mistakes, you’ll get reliable data. This can help you choose the best soil changes and make your garden healthier.
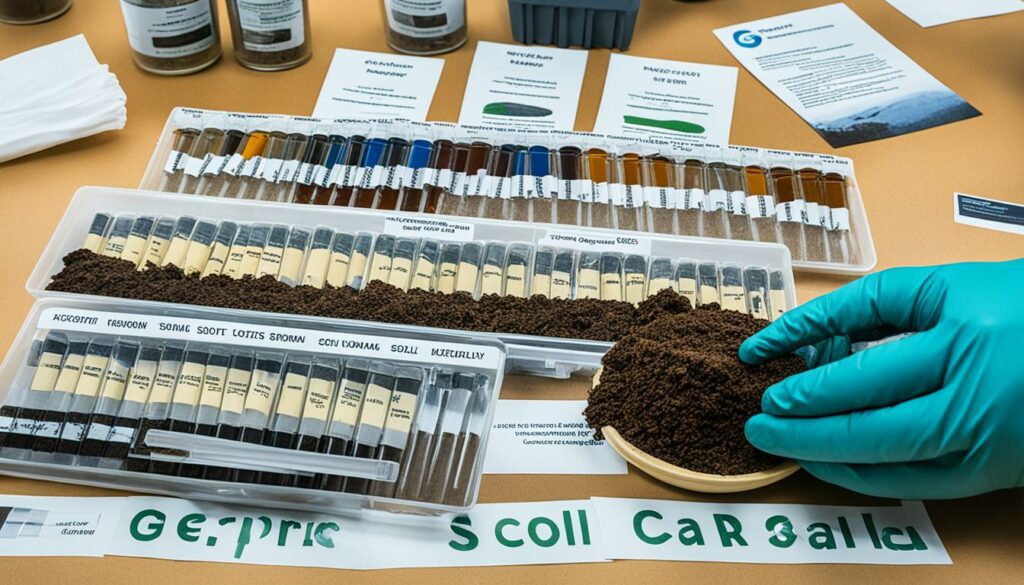
Chemical analysis of soil is key for plants to get the needed nutrients and stay away from bad stuff. This work has improved a lot over the last hundred years. The NCR-13 Soil Testing and Plant Analysis Committee has set the standard for labs in the past 30 years. It’s vital to stick to these methods closely. Even small changes can really change the test results.
Knowing your soil’s nutrients is vital for a healthy garden. Elements like Nitrate-Nitrogen, Phosphorus, and Potassium, are crucial for soil fertility. Contaminant tests check for heavy metals like lead and arsenic to keep plants safe. Knowing your soil well helps suggest the right fertilizers, saving money and the environment. Studies by the North Central Agricultural Experiment Stations have made these tests even better over the last 50 years.
Labs now use high-tech testing for detailed soil analysis. These new methods are quick, reliable, and save money. They tell us a lot about soil’s chemicals, toxicity, pH, and more. These innovations show why we need to keep researching for better and cheaper soil tests. Soil compaction and other physical tests are crucial for understanding soil health. They give us a full picture of what the soil needs to help plants grow well.
| Nutrient/Element | Importance | Testing Method |
|---|---|---|
| Nitrate-Nitrogen | Essential for plant growth | Chemical extraction |
| Phosphorus | Important for root development | Colorimetric analysis |
| Potassium | Regulates water usage | Flame photometry |
| Heavy Metals | Checks for toxicity | Atomic absorption spectroscopy |
“Standardized procedures for soil tests are a cornerstone of accurate soil analysis.” — NCR-13 Soil Testing and Plant Analysis Committee
By using these scientific methods and tests, you can create a perfect garden. This ensures plants grow well and are safe from bad things.
Investing in professional soil testing services pays off in better garden health and yield. These experts use the latest tools to analyse your soil. They find things you might miss with DIY methods.

These services check for Potassium, Phosphorus, pH, Organic Matter, and more. The tests are done with certified accuracy and speed. You only need to send 8-16 oz of soil, making it easy and efficient.
The main advantages are:
Choosing the right service means looking at the tests they do and how well they fit your needs. Look for clear results and advice from experts. Make sure the cost matches the quality, for the best deal.
Remember, correct soil sampling is important. You should take samples from the top 0-6 inches of soil. For nutrients that move, go down to 36 inches. Fast shipping keeps your results accurate. And certified geotechnical engineers ensure tests are trustworthy.
In the end, professional soil testing improves your soil’s quality. This leads to better gardening results.
It’s crucial to know how often we need to test our soil. This helps keep our gardens healthy and our plants growing well. With regular tests, we can choose the best fertilisers and soil fixes. This boosts how well our gardens produce.
For most plants, testing the soil every two to three years is good. But crops that bring in a lot of money might need a soil check every year. It’s best to test the soil at the same time each year, like after harvest and before new crops are planted. Doing this helps us fix any nutrient problems or tweak the soil’s pH. It means we use fertiliser only when it’s needed.
Spring or autumn are the best times to test the soil. This gives us time to fix soil issues before planting new things. These tests also help check soil moisture, texture, and how it holds nutrients. By testing the soil in spring or autumn, we learn when to add soil improvements. A good soil test kit makes sure we get accurate and detailed results. This helps us manage the soil in the best way for our plants.
Making a garden flourish starts with understanding soil tests well. Doing the right soil tests and analyses shows what nutrients plants need. This helps me pick the right changes to make my soil better, so my plants grow well. Let’s talk about important soil fixes.
Picking the right fertiliser after checking the soil can really boost your garden. Soil tests show what nutrients the ground can hold and what it lacks. It’s vital to match the N-P-K ratio to what your plants need and your soil has.
By testing over time, you learn when and how much fertiliser to use. This approach prevents using too much, making sure plants get what they need without waste.
Compost and manure are as important as synthetic fertilisers. Adding compost regularly boosts nutrients and soil structure. It also increases the amount of good matter in the soil.
Manure releases nutrients slowly, keeping the soil fertile over time. Regular soil tests help you fine-tune how much compost and manure to use, based on the soil’s needs. This way, the changes we make support the earth too.
Regular soil testing is key for keeping garden soils healthy. Using soil testing methods helps ensure plants get the right nutrition. This leads to better crop yields and growth.
It also stops the overuse of fertilisers. Too much fertiliser can harm the environment. It can cause nutrient leaching and water pollution.
Using soil analysis techniques, gardeners can find and fix nutrient problems. This way, crops grow better. It also saves money by not applying too much fertiliser.
Soil testing is essential in fighting soil erosion and degradation. Yearly, over 24 billion tonnes of fertile soil is lost. This affects 1.5 billion people’s health and jobs. Regular soil tests help prevent these damages.
Soil compaction testing is also crucial. It highlights problems that can stop roots from growing well. Fixing soil compaction helps crops stay healthy and increases farm production. This is key for feeding a growing world with more food and ensuring food safety.
Investing in regular soil testing doesn’t cost a lot. Tests are usually between $7 and $10 each. In some places, the testing is even free. This small cost brings big benefits, like better soil and plant health. It shows that keeping up with soil tests is really valuable.
Soil testing doesn’t just matter to garden lovers. It’s key for keeping farms sustainable. It helps find important nutrients like nitrogen, phosphorus, and potassium. Also, it looks into secondary nutrients and even heavy metals like lead. This gives a full picture of the soil’s health.
Understanding the soil’s physical traits, like its texture and moisture, is also crucial. Knowing the right moisture levels for crops is vital. For example, sunflowers on loamy soil need it to be about 65% moist for the best growth. These tests help farmers use the right amount of fertiliser. This keeps the environment safe and boosts farm output.
Soil analysis gives great insights into what nutrients the soil needs. It guides smart choices on fertiliser use. With up-to-date testing and technology, a healthy, lush garden is achievable. It means better crops that are good for the earth. The effort and care you put into your soil come back in healthier plants and a better harvest.
The best methods for testing soil quality include professional lab-based analysis and home kits. Lab tests provide detailed nutrient profiles. Home kits give a general view of soil health.
Soil testing is key for ensuring your soil has the right nutrients. It helps you make wise choices on fertilisers and amendments. This is crucial for healthy plant growth.
Start by choosing between a professional lab and a home kit. Collect soil from various places in your garden. Then, mix and test it as your method instructs.
Lab tests give detailed nutrient information. They measure small nutrients and possible toxins. Home kits are basic, focusing on pH and main nutrients. They are cheaper but less detailed.
Think about what your plants need and your budget. Some plants require detailed nutrient checks. Others might just need a simple pH test. Assess what your garden needs.
Soil pH impacts how plants absorb nutrients. Most plants prefer neutral soil. Some do better in slightly acidic or alkaline soil. Testing and adjusting pH can boost plant health.
Home kits provide quick pH results. Professional labs give more accurate readings. Choose the method based on your need for accuracy and budget.
Soil fertility tests measure key nutrients in the soil. They point out what’s lacking. This helps you improve the soil for healthy plant growth.
Use the Ribbon or Peanut Butter Jar Test to check soil texture. These tests show the mix of sand, silt, and clay. Soil texture affects water and nutrient availability.
Soil compaction tests show how tightly packed your soil is. Too compacted soil can stunt root growth. It’s done using a penetrometer or a simple spade test.
To test for organic matter, you can use professional services. They offer detailed analysis. Organic matter is key for good soil structure and nutrient availability.
DIY tests like the Peanut Butter Jar and Earthworm Tests are affordable. They can give you an initial idea of your soil’s condition.
Understanding test results involves knowing about nutrients and pH. This info helps you pick the right fertilisers. It’s crucial for healthy plant growth.
Collect samples right depth and avoid mixing with compost. Mix samples from across your garden. This gives you a true overview for testing.
This analysis finds necessary nutrients and harmful things. Detailed results help you fix nutrient deficiencies and avoid toxic soil.
Professional tests give detailed insights and custom advice. They greatly help improve your garden’s health and productivity.
Testing soil every three to five years is advised. This should be done in spring or autumn. It lets you correct soil issues before or after planting.
Base soil improvements on what the test advice. Choose the right fertiliser and add compost or manure. This will boost soil quality and health.
Testing your soil often ensures your plants get the nutrients they need. It saves money by using just enough fertiliser and protects the environment. It supports long-term soil health and fertility.